
Adrian's Top Five
My Top 5 Instructional Strategies


By the time January finally ends, without fail, I inevitably hear someone invoke the metaphor: Teaching is a marathon, not a sprint. I understand the sentiment. We are all exhausted. Student misbehavior starts to spike as the grind continues. There are very few breaks from school between January and March. In these three months, I tend to enter my own Pit of Despair. New York Times bestselling author and illustrator, John Hendrix, coined the term when describing the arc of any long-term project. You reach a point when your initial excitement has wanted, your work feels terrible, and you just want to give up. And yet, you know you cannot quit because the end is in sight. Experience tells artists that patience, perseverance, and trusting their creative process will help them make it to the finish line. The school year is a long, long project. By February, my fatigue begins to show and I worry about the quality of my teaching. There may be days when I want to quit, but when the bell rings and my students file into the classroom, my teacher brain turns on and my pedagogy kicks in.
No matter how long you have been a teacher, having a few solid instructional strategies makes difficult days manageable. Here are five quick-win tools that I often return to when I am tired and I need something to do with students I know will work.
5. Frayer Model
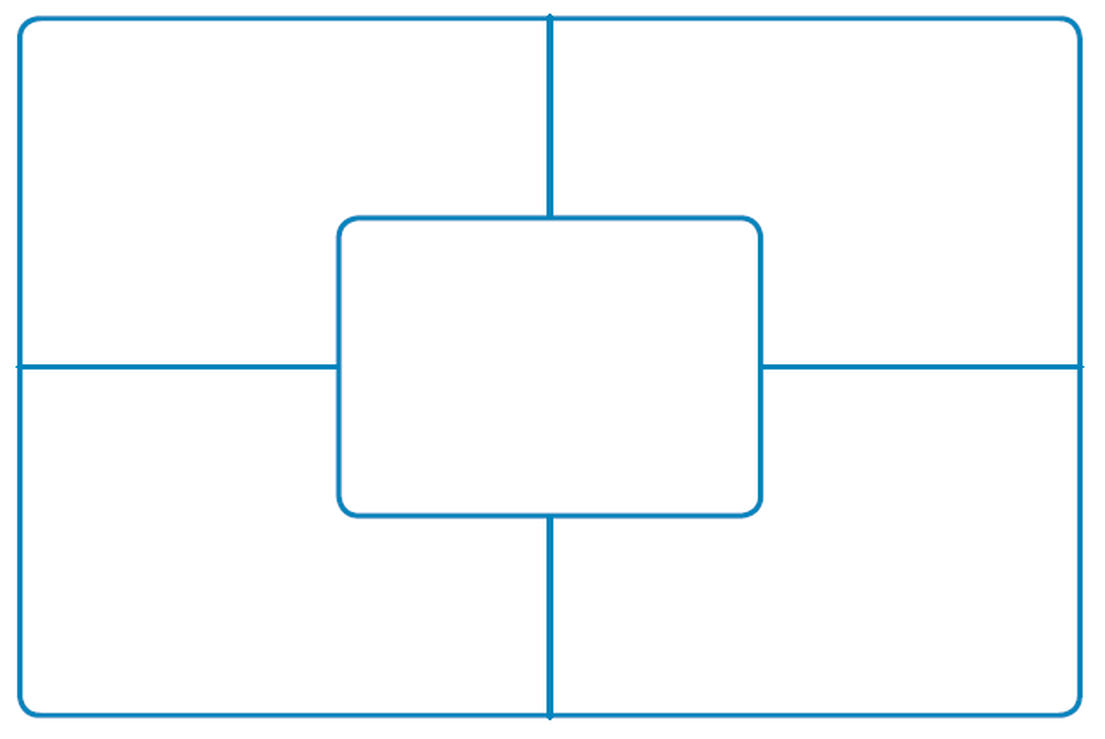
The Frayer Model is a graphic organizer that I use for teaching big concepts. It was developed by Dorothy Frayer, Wayne Fredrick, and Herbert Klausmeier in 1969 to help students build their vocabulary, enabling them to determine or clarify the meaning of unfamiliar words. This technique requires students to define a word or concept and apply their knowledge by generating examples and non-examples, giving characteristics, and/or drawing a picture to illustrate the meaning of a word.


There are about a million different free templates online. I like the look of those found on Canva, but you can find editable templates everywhere, including PowerPoint and Microsoft Whiteboard. Here is a Google Slides template that you can make a copy of to use immediately. One of the best things about The Frayer Model is that it can be used on any content area. I particularly like using it in mathematics, science, and social studies because those subject areas are concept heavy and vocabulary rich. For multilingual learners, they can draw pictures in each quadrant.
My favorite video explanation is from Ian Byrd. He has a ton of free resource videos that you can show directly to students when introducing various instructional tools.
4. Placemat Consensus
Classroom discussions are a central part of my learning experiences. I spend a considerable amount of time teaching students how to engage in thoughtful and respectful discussions with their classmates. One tool I use often is a consensus placemat. The grid looks similar to a Frayer Model, but instead of putting a vocabulary word in the central square, I provide table groups with a topic to discuss. The placemat must be large enough for each student to write in their individual space. Once I haved announced to everyone the topic we will be discussing, I give each table group about three minutes to write down as much about the topic as they know. When time is up, each student goes around the table taking turns sharing what they have written in their space. As they share, if there is a consensus that a certain detail or point is important, one students records their best synthesis of the group’s ideas in the center of the placemat. If needed, everyone in the group can help wordsmith their consensus. The process is repeated for multiple rounds, Round Robin-style, giving each student a turn to suggest their idea, and then record their collective consensus.
Again, you can find many free templates online. I do have some smaller placemats laminated that I can reuse, but I find that the best student discussions occur when I give students large sheet of butcher paper and markers. If you have larger groups, students can create more sections to write in, like this principal did for her staff.
3. de Bono’s Thinking Hats
In 1967, Dr. Edward de Bono, a Maltese physician, psychologist, and philosopher, coined the term, lateral thinking, from his research on how the brain functions as a self-organizing information system. He published The Mechanism of the Mind in 1969, proposing lateral thinking as the deliberate, systematic approach our brain uses to bypass logical pathways and reframe problems. He has written over 60 books detailing how the brain thinks and how to improve one’s memory and critical thinking.
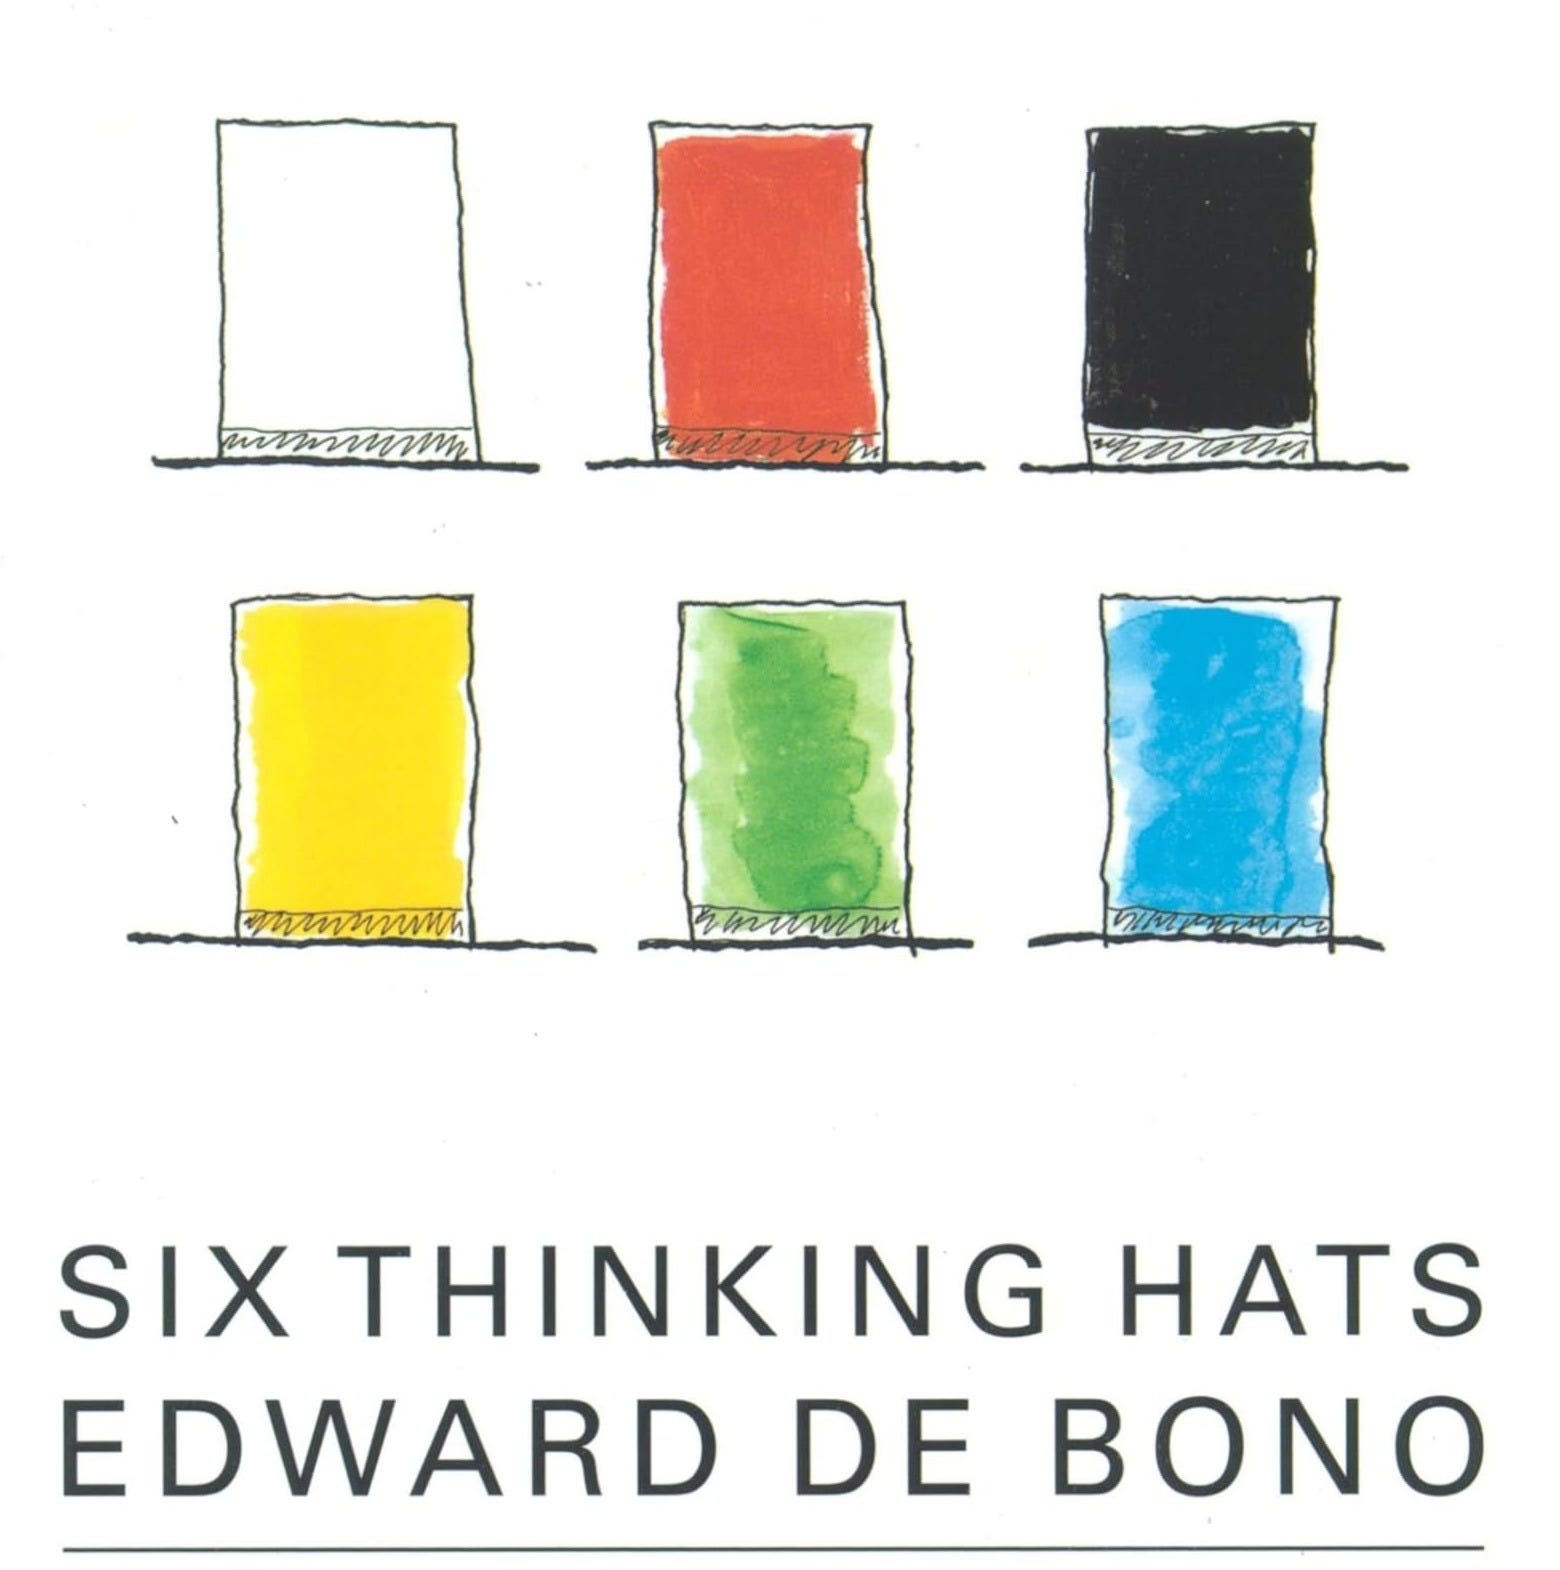
His 1985 book, Six Thinking Hats outlined techniques for how groups can better plan in a detailed and cohesive way, and think together more effectively. Since then, the process of Six Thinking Hats has been used widely within business and education.
The process has team members separating their thinking into six clear functions and roles. Each thinking role is identified with a colored symbolic “thinking hat” — Blue, Green, Red, Yellow, Black, and White. By figuratively wearing and switching “hats,” you can better focus or redirect your thoughts during a group’s conversation.
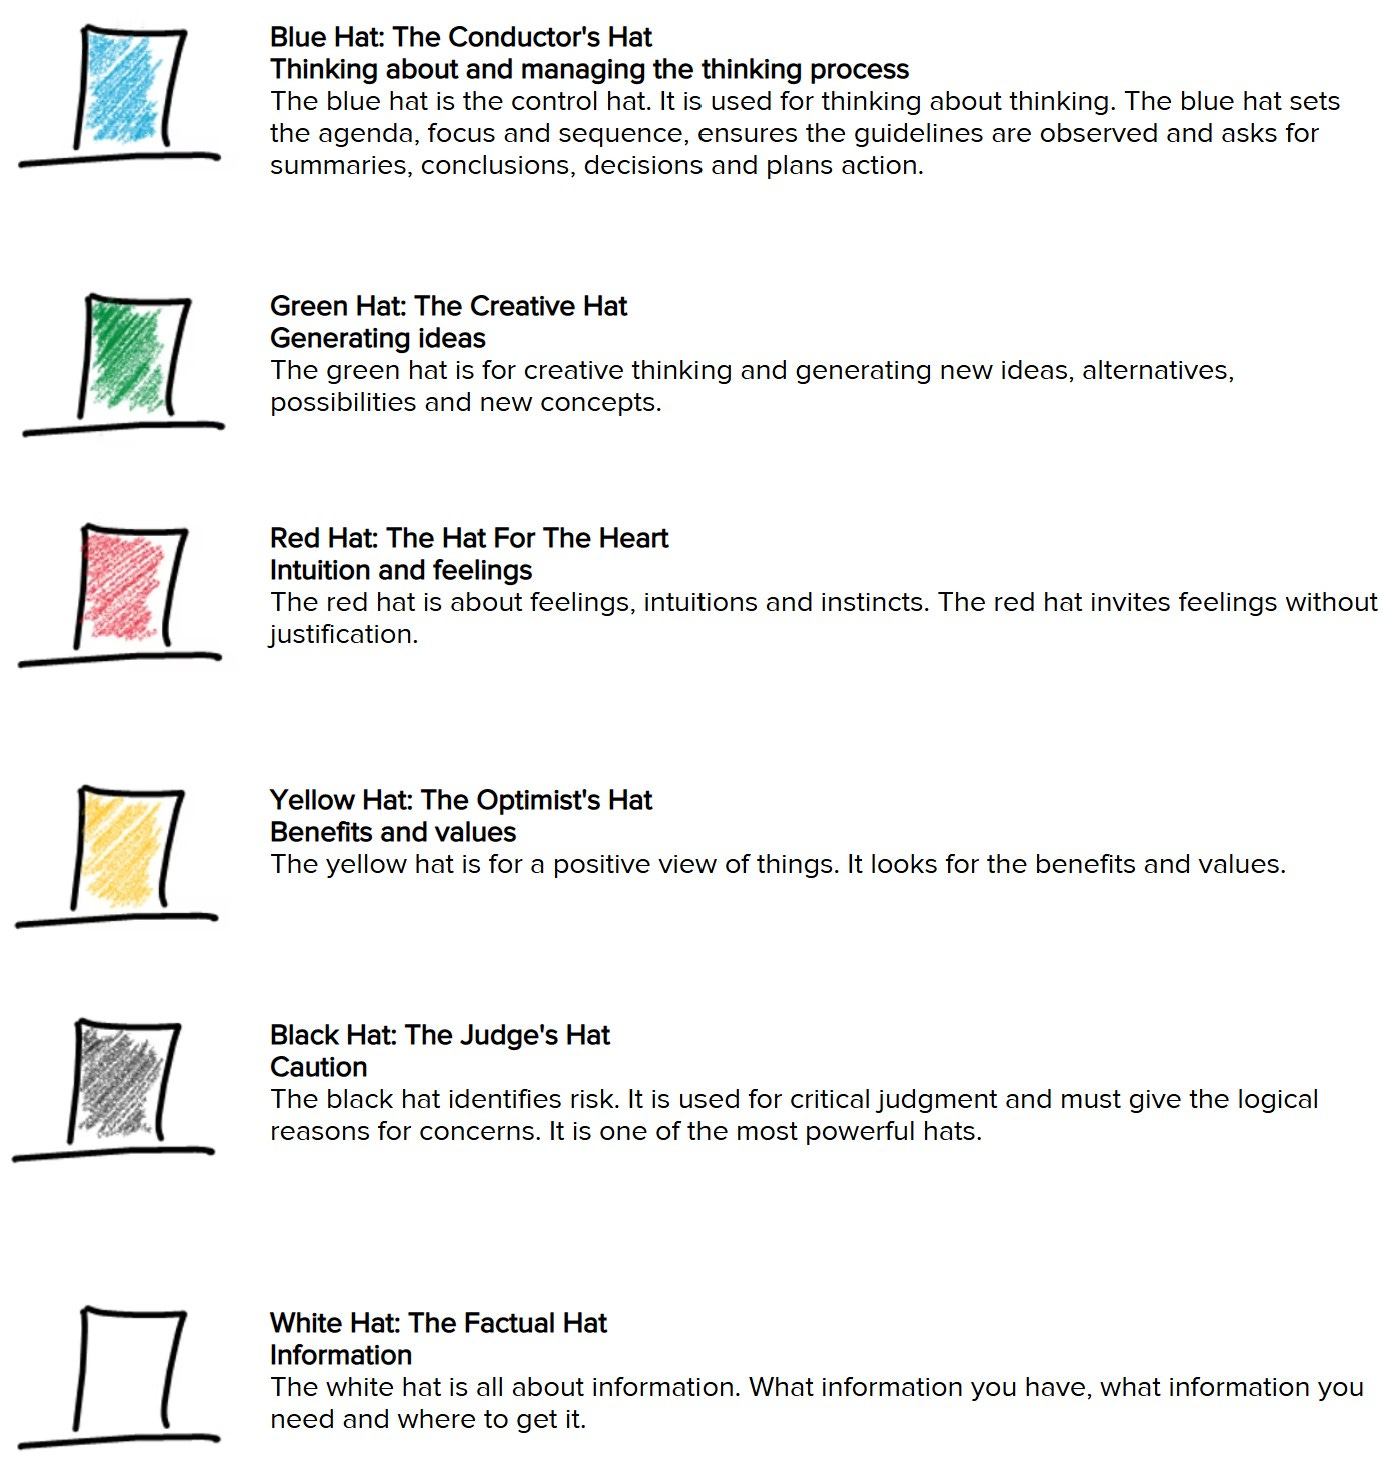
I have used deBono’s Six Thinking Hats with students, teachers, administrators. While the style of the hat does not matter, I have found that when working with students, having physical hats helps demonstrate different modes of thinking. There are many resources for learning more about Six Thinking Hats.1
When introducing Thinking Hats to students, it is important to take time introducing each mode of thinking, modeling that mode of thinking, and then switching to another type of thinking. I introduced Thinking Hats to my students at the beginning of the school year as we were getting to know each other as classmates and learners. I used posters like this to help students see which hat they may use more often. You can also use a PowerPoint Presentation to introduce the different types of thinking or this YouTube video. You can use Six Thinking Hats in book clubs or as a reflection tool.
I pull out this strategy when I want my students to examine multiple perspectives around a sensitive or controversial topic. For example, we referred to the different hats during a Family Meeting when a student brought up the recent ICE protests. By having students acknowledge the different modes of thinking around this sensitive topic (e.g.: feelings versus facts; critical judgements versus creative alternatives), our discussion was nuanced and thoughtful. Students felt comfortable “trying on” a thinking style to play with an idea or perspective. Others felt safe to acknowledge these various viewpoints, even if they vehemently disagreed.
2. A-E-I-O-U Protocol
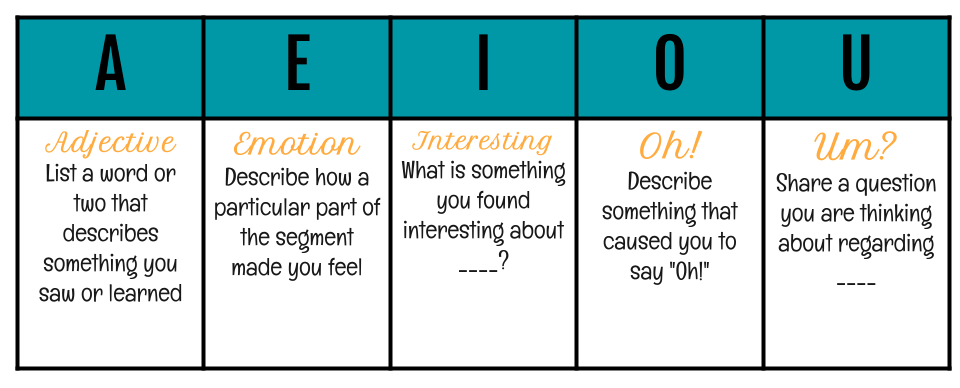
I often use this protocol as an exit ticket after students watch a video as a class or read a text individually. It is a quick way to check for understanding and a great starting point for a classroom discussion afterwards. Before we watch a video, or students read a text, I pass out an index card (5” x 7” give students plenty of room to write). Students know they must have something written down for each vowel. Before I collect the cards, I have students share anything they wrote down for any letter. Students love sharing what they found interesting or what caused them to say, Oh! If multiple students have similar questions about the video or text, I can address in those quickly. I also want students to have practice describing how a particular video or passage makes them feel. Students do not get many opportunities to connect their emotions to what they are learning, and I find this A-E-I-O-U protocol is a great tool for that.
1. Triangle-Square-Circle
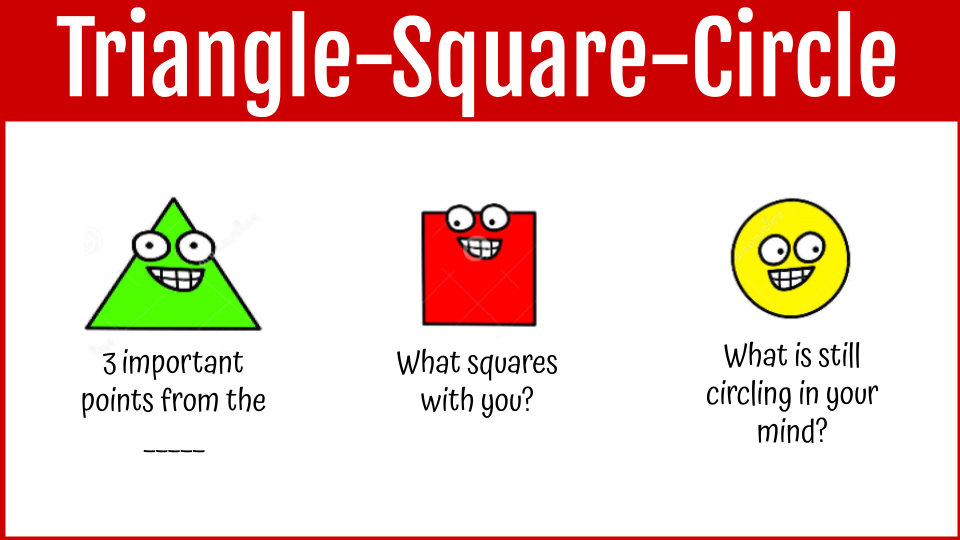
Triangle-Square-Circle is my most used exit ticket. It is quick for students to prepare— students draw a triangle, square, and circle on an index card— and easy for me to grade or check for students’ understanding. I explain to students that What squares with you? means something from the discussion, text, video, or activity that resonates with you or is something you agree with. What I like most about this exit ticket is that it pushes student to remember three important points, not just one random fact. If you’d rather have this in a worksheet format, this handout from K20 Learn is great.
Having a collection of easy strategies that I have practiced using with my students allows me to keep the rigor of my classroom relatively high, even when I am tired. I do not have to think much about which tool to use when because they are all so versatile.
Have a great week!
— Adrian
What are your favorite exit tickets, teaching tools, or instructional strategies? What are the techniques you keep returning to during the school year? Leave a comment and share a few of your favorite instructional tools from your teacher toolbox!
Resources
100 Visual and Video Writing Prompts for Grades 6-8 | John Spencer
John Spencer has created so many incredible videos for students and teachers. This presentation is something I saved in my Google Drive years ago. When I need something fun to help my students destress (or to give me a moment to catch my breath), I pull out one of Spencer’s great visual writing prompts. They always seem to get my students writing and talking!
What are Kagan Strategies? | We Are Teachers
You may have noticed that a few of my favorite instructional strategies are similar to Kagan Structures. If you are not familiar with these strategies, this We Are Teachers article provides some examples and a brief history of the structures.
This video comes from Teacher Toolkit, a website developed for the Region 13 Educator Certification Program (ECP) Transition to Teaching grant from the United States Department of Education. You can watch this third grade class learn new science vocabulary using the Frayer model.
This video from Training Bubble has a good explanation of deBono’s Six Thinking Hats. I like how this particular video has bold graphics on each slide, allowing me to periodically pause and explain each mode of thinking in more detail.
Here is another video from Teacher Toolkit, showing a middle school math teacher using Triangle-Square-Circle to assess her students' learning at the end of her introductory lesson on the pythagorean theorem.
While this classic strategy, The Jigsaw Method, did not make the final cut, I often use this strategy when pressed for time. Jennifer Gonzalez, from Cult of Pedagogy, does a great job explaining this cooperative learning strategy.
If you are interested in learning the origin of the jigsaw classroom, originally designed by psychologist Elliot Aronson to build up empathy in recently-desegregated classrooms, check out this excellent Edutopia video.
I have no plans to make Adrian’s Newsletter a pay-to-read place. However, if you do want to contribute financially (and are able), consider upgrading to PAID. Thanks!
Want some more of Adrian’s Top 5? Check out a few of my archived posts.


The deBono Group also has a few helpful video explanations and resources.
I love how all these strategies are both simple and repeatable— they become like a shared language of your classroom over time, reducing cognitive load for both you and your students so you can focus on the concepts.
You’ve probably already seen project zero’s thinking routines, right? They have a great list of routines along these same lines, all useful for different purposes. I use them in faculty meetings all the time. :) I might steal some of your routines for future meetings, too! Thank you for sharing!
These are great instructional strategies! I especially like the thinking hats as it helps students to look at a topic from multiple perspectives. I am working with mentoring/homeroom/advisory at the high school level and could see that the thinking hats could be particularly helpful in discussing hot topics or social emotional topics.